
It is easy to install a WordPress theme. Usually, the most difficult part is finding the right theme to fit your website. Now, if you have found the right theme for your website, here are the steps to install the theme on your WordPress Website.
Table of Contents
Steps to install A WordPress theme
One can install a WordPress theme for free through the theme directory of wordpress.org. But the better way is to use the native theme search feature available on the Admin dashboard. Let’s go over the steps below:
Step 1: Login to the WordPress admin section. Next, go to ‘Appearance,’ and then to the ‘Themes’ page. Now, put a click on the ‘Add New’ button. This will take you to a new screen.
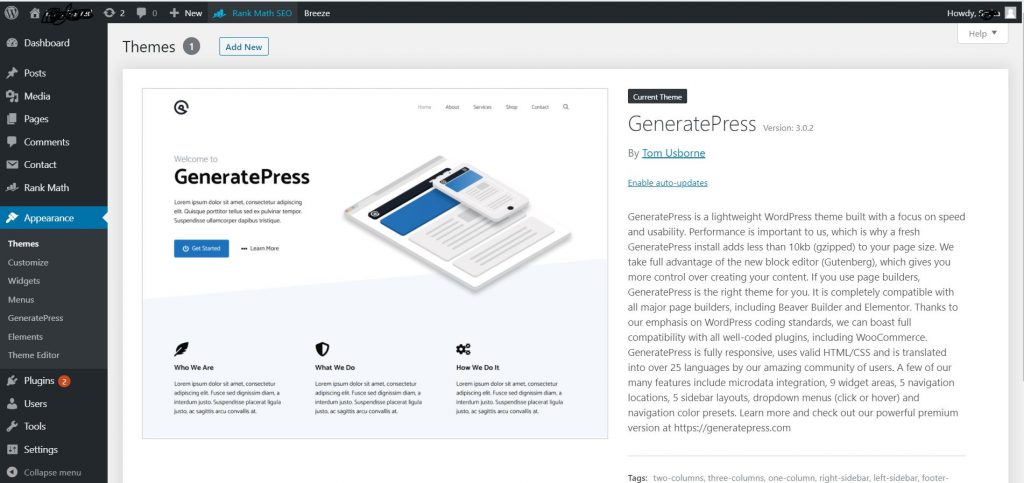
You will have options like Featured WordPress themes, Popular WordPress themes, and the Latest WordPress theme. Here one can search for a specific theme or a theme with certain features.
Step 2: By clicking ‘Feature Filter,’ one can arrange themes as per the features. For example, one can arrange themes in terms of subject, specs, as well as layouts.
Step 3: According to these searches, a theme list appears as per your set criteria. Anyway, upon finding the specific theme, one needs to take the cursor on the image.
Step 4: Now, the button for installation, preview, and details becomes available. WordPress begins the theme installation process and displays the success message.
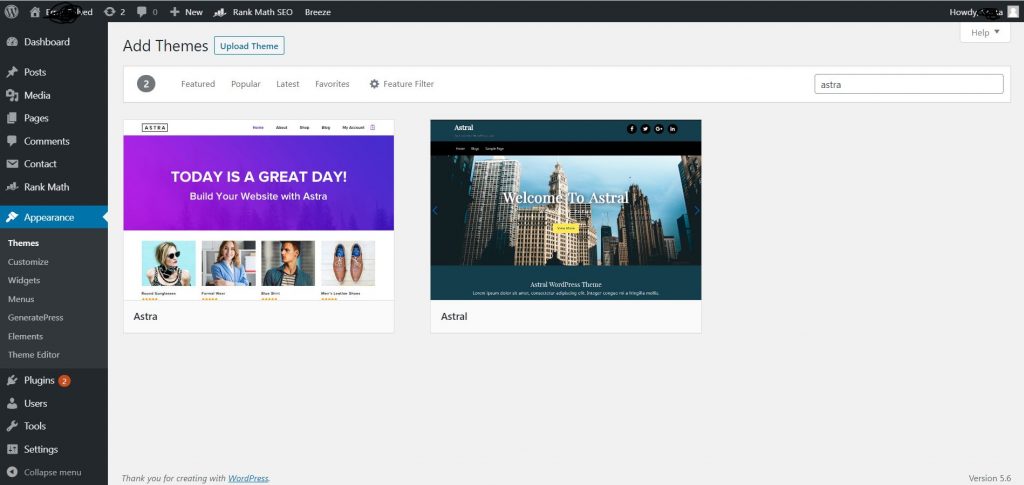
It also shows the ‘Activate’ button and ‘Live preview’ button. Now, click the ‘activate’ button,’ successful installation and activation of WordPress themes occur.
Step 5: However, it might bring an extra settings option for configuration, as per the theme. For example, the theme might ask to install certain plugins, review settings, or download demo data.
One may follow the instructions appearing on-screen or tap on a customizing key to initiate theme setting.
Uploading a theme zip file to WordPress
The above method is best for those who want only free themes on the theme directory of WordPress.org. However, those opting for premium WordPress themes will receive a zip file that they need to upload to WordPress. Here are the steps for the same.
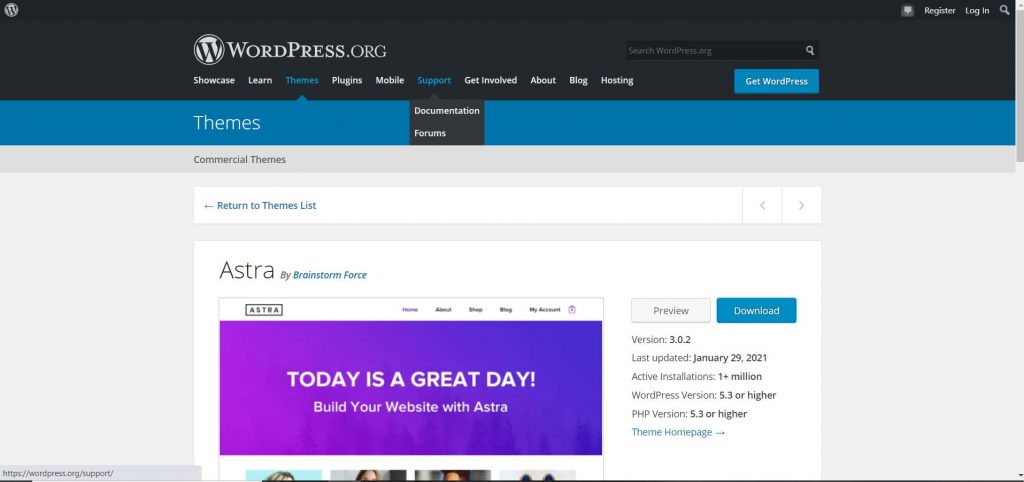
Step 1: First, download the .zip file that you have purchased.
Step 2: Now, go to ‘Appearance’ and then to ‘Themes’ in the WordPress admin section.
Step 3: Next, tap on the ‘Add New’ option on top. This takes the user to Add New theme page with free themes available. You can now click on the ‘Upload Theme’ button at the top as you already have the desired theme.
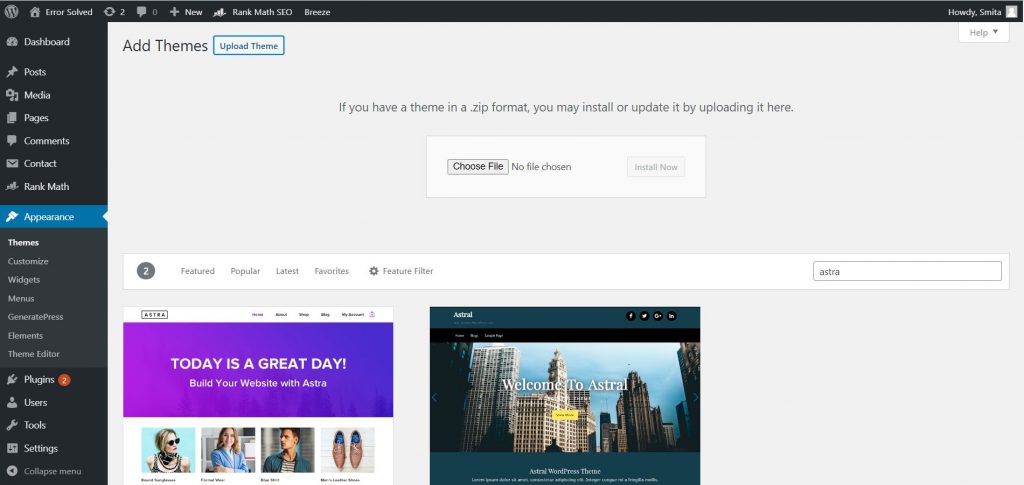
Step 4: It prompts the user to select the earlier downloaded zip file. Opt for the file and tap ‘Install Now.’
Step 5: A success message and activation link become available post-installation of the theme. However, one can preview the theme through it as well.
Step 6: Tap ‘Activate’ to install and make the WordPress theme functional.
Step 7: According to the theme, it may include extra settings that you may want for configuration. One can customize through the theme customizer or distinct options section.
It is here to note that theme upload functionality is meant for users of self-hosted WordPress.org. Those using WordPress.com may not find this option. However, these users can anytime shift to wordpress.org for using custom theme upload specs.
Installation Of WordPress Theme Using FTP
One can install WordPress themes through FTP as well. Well, it may not be a convenient option for beginners.
Step 1: Download the theme zip file onto the computer and extract its contents. Once all the files are available as a folder, we can proceed to step 2.
Hence, you can go for uploading the same over your website. However, one needs to connect with his/her website or hosting account of WordPress through an FTP client.
Step 2: Make sure that the connection is complete. Now, go to the wp-content > themes. Here, you can find folders for the installed themes over the website.
Step 3: Now, drag your theme folder from the system and upload the same to the website. This should complete the theme upload process.
Step 4: Next, go to the admin dashboard and tap ‘Appearance,’ and then ‘Themes.’ You can now find the theme you uploaded. Finally, activate the theme, and you’re ready to go!
So, one can easily install a WordPress theme using any of the above methods.
We hope this article about how to install a WordPress theme is helpful to you. Do share this article on social media, if it is useful for you in any manner. Please stay connected with us for future updates.