Gutenberg block editor will allow you to create an amazing content layout with a fully responsive design without a single code line.
What you have to do is just drag the block and customize it according to your needs, change color, typography, font & all the other things.
Since its release, the Gutenberg block editor has frequently updated with the new blocks, and when you install any new plugin, it will probably add a new block in the list.
But when your website ends up with hundreds of blocks, your writing interface will become confusing & those unwanted blocks will also affect your site’s speed.
Here in this article, we are going to tell you how you can disable unwanted blocks in the Gutenberg block editor to achieve a neat & clean content layout.
Hide Unwanted Gutenberg Blocks With Gutenberg Block Manager
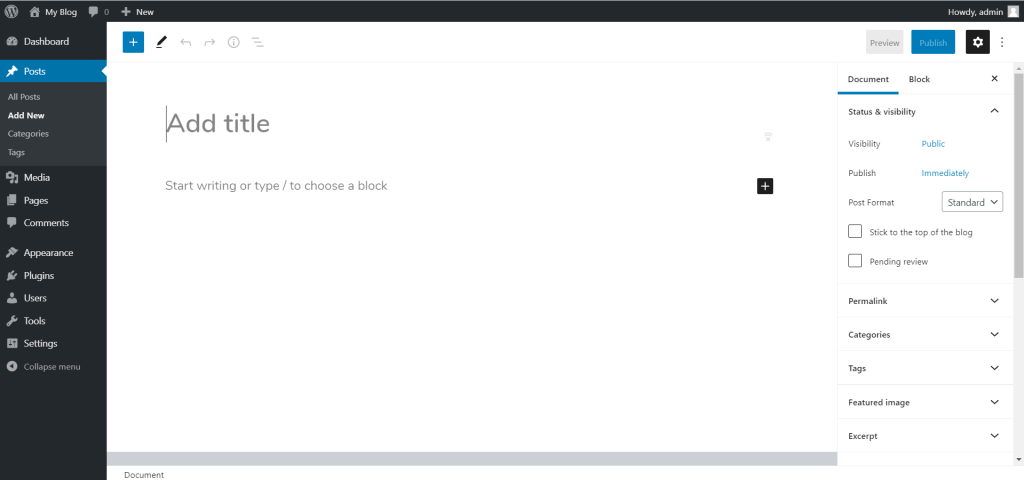
Step 1: Log in to your WordPress dashboard, now open your existing post or create a new one.
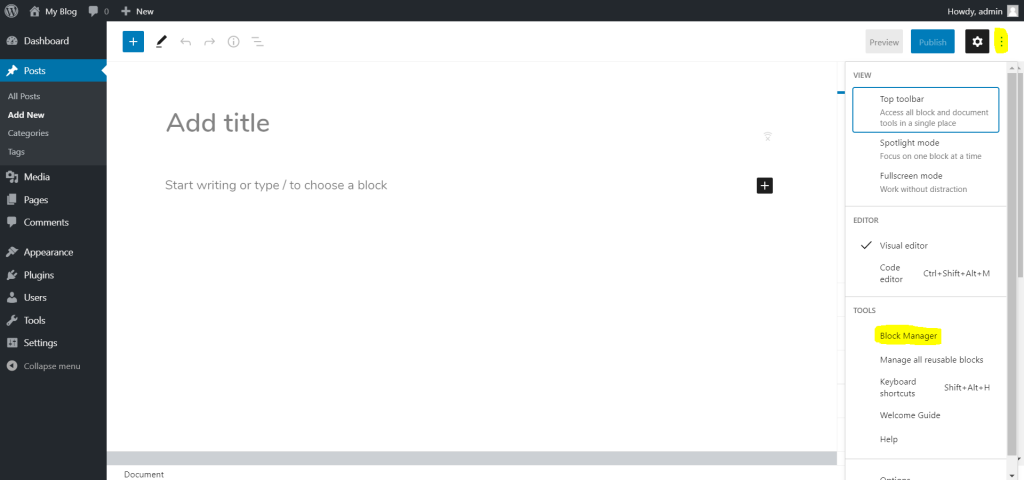
Step 2: Click on the option (3 dots) at the top right corner & then click on block manager.
Step 3: Now, uncheck the blocks that you do not intend to use.

Final Words
That’s how you can enable or disable unwanted Gutenberg blocks in WordPress. Even all the Gutenberg blocks addon plugin allows you to enable or disable blocks according to your needs.
We hope this article on how to hide unwanted Gutenberg blocks in WordPress helps you. If the article is helpful for you in any manner, do share it on social media.
Please stay connected with us for future updates.